
Stages: 1.Dough preparation 2. Cutting parts with cookie cutters 3.Baking 4. Royal Icing preparation (edible glue) 5. Assembly 6. Decorating with icing pens and fondant.
Supplies (tools):
1. Cookie Cutters for Mini Gingerbread Houses. Originally I bought mine on Amazon but last time I checked they were sold out. These are same size and still available on Etsy. Click here.
2. Pastel Fondant pack can be bought at your local craft store or on Amazon. Click here.
White for Snowflakes. Click here.
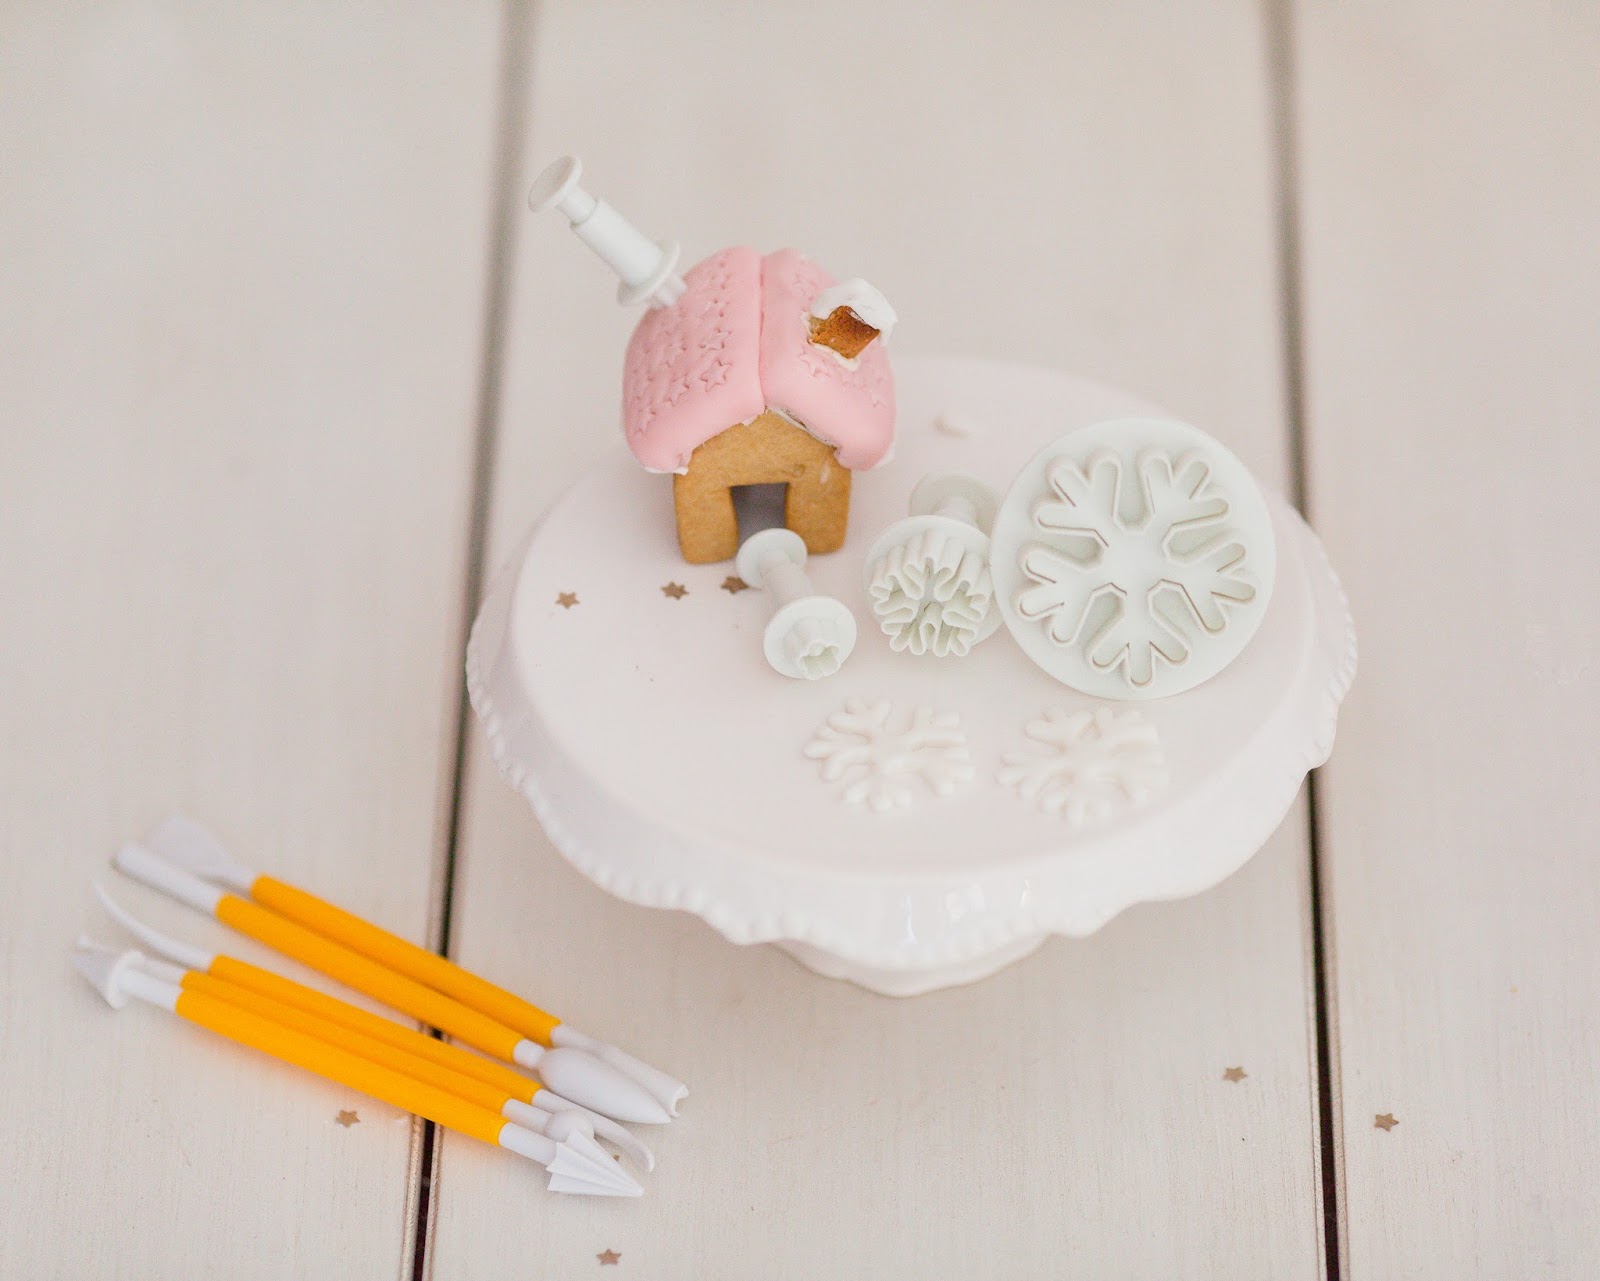
3. Cutters and tools pack for fondant. Click here. Since we didn't have any prior. I went with this large selection, they worked nicely and come with small rolling pin which was used by my daughter.
4. Icing decorating pens. Click here.
5. See {Dough Preparation} and {Royal Icing Preparation} below for recipes and ingredients.
I strictly followed this recipe from Caketime (click for link). Its enough for about 8 houses and couple cookies. But I believe the amount of ginger spice is way too much. I would use only 1/4 of that. Otherwise the instructions are clear and after the dough rested in a fridge for 10 minutes it was ready to be rolled out.

{Part 2} Royal Icing Preparation.
I made a mistake in the beginning and bought something called Cookie Icing. Royal Icing is different, it hardens and holds the parts all due to egg whites. I dont have a baking mixer (I told you I am a novice), so I searched if I could do it by hand. I followed this recipe (click here). The only thing I used probably twice as much sugar, than the recipe calls, to reach a good thick consistency, constantly mixing it by hand. You will see, if its too runny add sugar ! One egg white is enough for this project.
{Part3} Assembly
Voila! We now have our parts, we have edible glue (icing) , its time to assemble. Nothing was easier than just sticking it all together. It took about 40 min for icing to become hard.

Working with fondant is fun. You just roll it out to the 1.5mm thickness and make shapes pressing the cutters in it. We used small hearts, snowflakes, stars. All from the pack in supply list. We've put it on houses with royal icing and waited for it to harden. Especially loved making pink roof by putting fondant around it and making the stars. You can also cut piece of cookie on top to make a chimney. Glue it with icing.


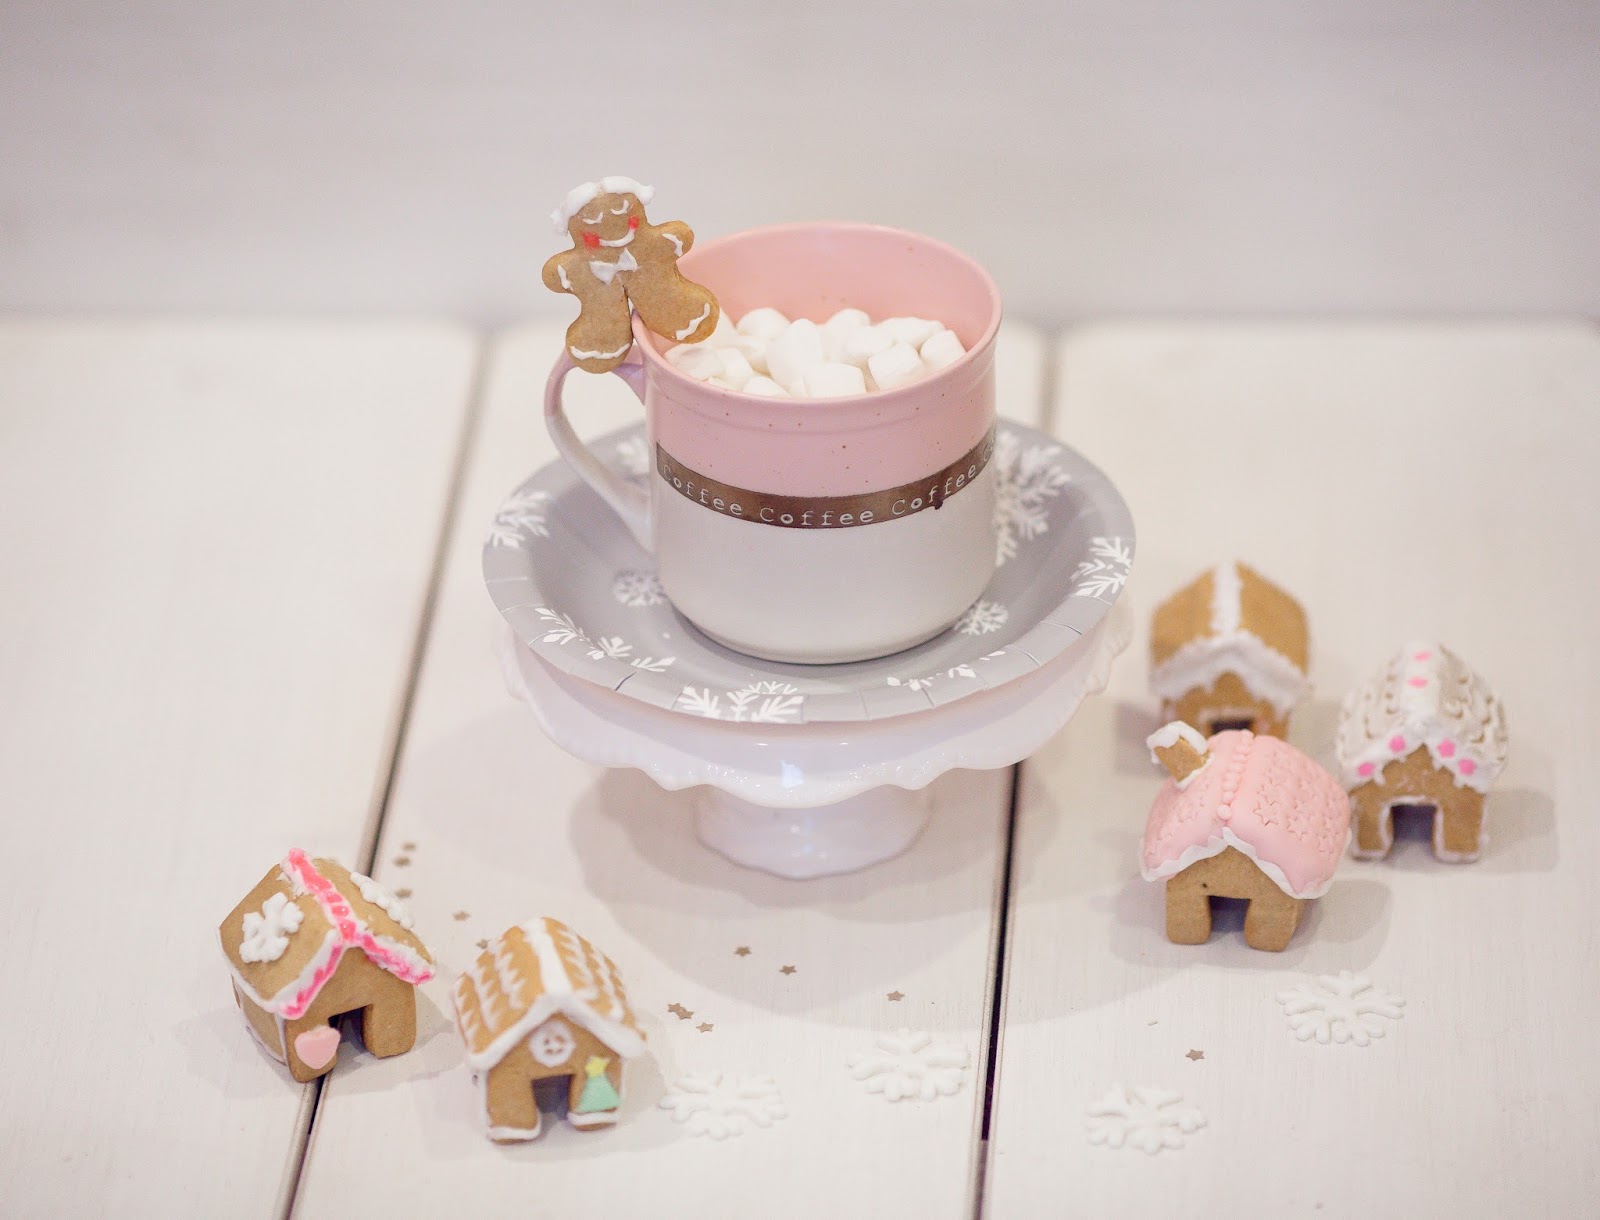


Use them as treats for your holiday party or Christmas pictures, they look adorable with marshmallows in the little hands.


Thank you for stopping by! May you have any questions or comments, let me know below :)
Merry Christmas and Happy Holidays!
xoxo
Mila
nice pictures. very beauthiful.
ReplyDeleteThanks for publishing this great stuff.
تجهیزات فست فود